Resistance Survival Guide #259
Skill Level: Beginner to Intermediate
When someone is being harassed, threatened, or singled out in public, the instinct to jump in is strong. That instinct is good, but the execution matters. Poorly handled intervention can escalate danger, put you at risk, or make things worse for the person you are trying to help. This guide teaches practical, real world bystander intervention strategies rooted in safety, awareness, and control so you can step in without turning a bad situation into a dangerous one.
Why This Matters
Public harassment and targeted aggression are increasing in both physical and digital spaces. Many people freeze, look away, or react impulsively. None of those responses reliably help. The goal is not to be a hero. The goal is to reduce harm, support the targeted person, and exit safely. Effective intervention protects people while minimizing risk to everyone involved.
What This Is
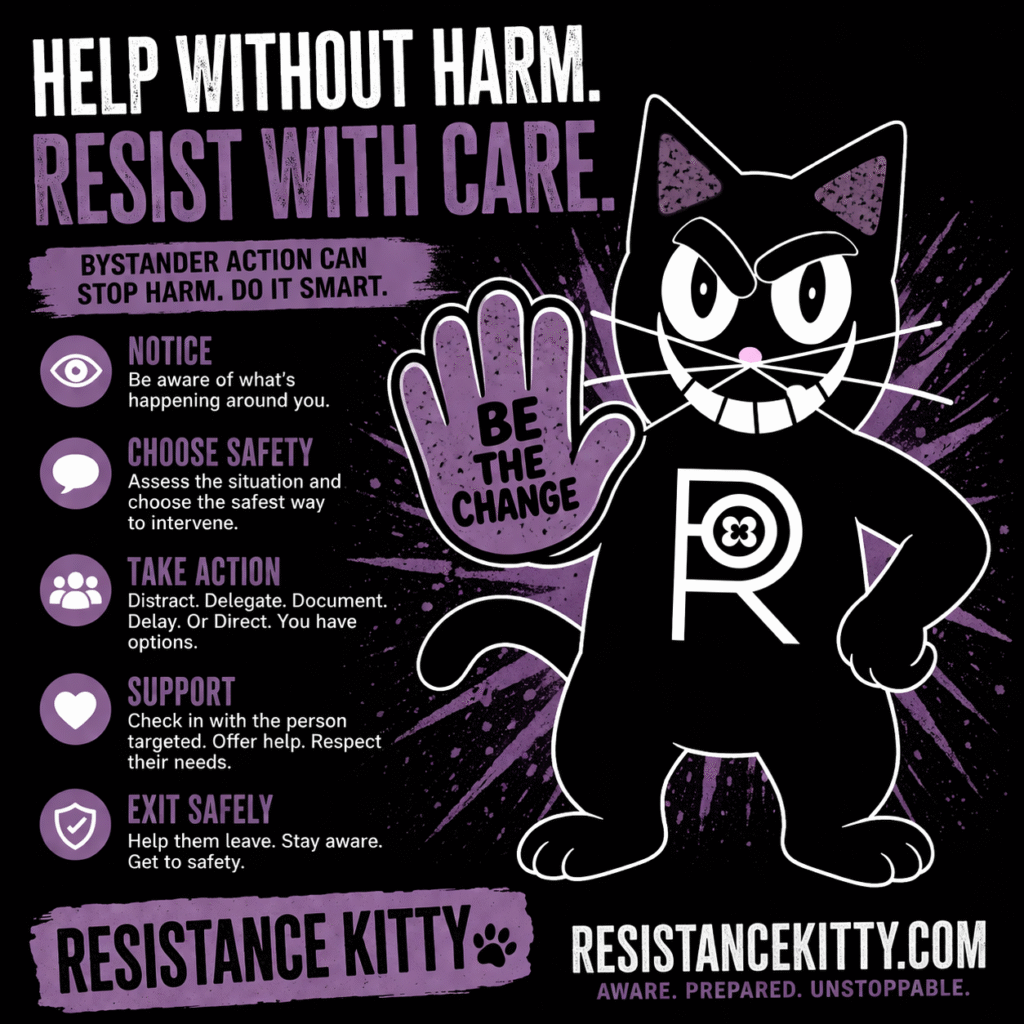
Bystander intervention is the act of safely stepping in when you witness harassment, discrimination, or potential violence. It relies on awareness, emotional control, and choosing the right method for the situation. The widely used “Five D’s” model includes Distract, Delegate, Document, Delay, and Direct, but the key is knowing when each one applies and how to use it without escalating the situation.
Step by Step Instructions
Step 1: Assess the Situation Before You Act
Pause and take in the full scene. Look at the number of people involved, body language, tone of voice, and whether weapons or substances may be present. Notice exits, barriers, and who else is nearby. If the aggressor is already volatile, direct confrontation may escalate things quickly. In that case, you need a lower intensity approach. If there is immediate physical danger, your priority shifts to getting help and creating space.
Step 2: Choose a Low Escalation Entry Point
Instead of confronting the aggressor right away, focus on interrupting the dynamic. A distraction is often the safest first move. You can ask for directions, drop something, or engage the targeted person in a neutral conversation like “Hey, do you know what time it is?” This breaks the aggressor’s focus without challenging them directly, which reduces the chance of escalation.
Step 3: Center the Person Being Targeted
Your attention should be on the person being targeted, not the aggressor. Make eye contact if safe and speak to them calmly. Simple phrases like “Are you okay?” or “Do you want to walk with me?” shift power back to them. This communicates support and gives them an exit option without forcing a confrontation.
Step 4: Use Delegation When You Are Not Alone
If others are nearby, bring them in. Point to a specific person and give a clear request such as “Can you stay with us?” or “Can you call for help?” People are far more likely to act when given a direct role. You can also involve staff, security, or trusted authorities if appropriate. For guidance on involving others safely, resources from groups like UN Women 5Ds Bystander Intervention Guide provide structured approaches.
Step 5: Document Only When It Is Safe
Recording can be useful, but it is not your first move. If you choose to document, do it discreetly and prioritize capturing context such as location, time, and behavior rather than getting close. Never escalate a situation just to get better footage. If the person targeted wants the recording, you can offer it to them afterward. For legal basics on recording in public, review guidance from the ACLU Know Your Rights on recording police and public interactions.
Step 6: Avoid Escalation Triggers
Do not insult, threaten, or physically engage unless there is no other option for immediate safety. Avoid yelling unless it is necessary to draw attention. Escalation often comes from ego clashes, and your job is to avoid feeding that dynamic. Keep your tone neutral and your body language non threatening.
Step 7: Create an Exit and Stay With Them
Once the intensity drops, help the targeted person leave the situation. Walk with them to a safer space such as a store, transit area, or group setting. Do not assume they are fine just because the aggressor left. Staying present for a few minutes can make a significant difference in their sense of safety.
Step 8: Provide Support After the Incident
Afterward, check in without overwhelming them. Ask what they need. Some people want to talk, others want quiet. Offer practical help like contacting a friend, arranging transportation, or helping them report the incident if they choose. Trauma informed guidance from organizations like the National Center for PTSD can help you understand supportive responses.
Example
You are on public transit and see someone being verbally harassed. Instead of confronting the aggressor, you sit next to the targeted person and start a casual conversation. You ask if this is their stop and suggest getting off together. Another passenger notices and stands nearby. The aggressor loses interest and disengages. You walk with the person to a safer area and check if they need anything before parting ways. No escalation, no added danger, and the situation is defused.
Required Reading
- UN Women 5Ds Bystander Intervention Guide
- https://www.aclu.org/know-your-rights/photographers-rights
- https://www.ptsd.va.gov/professional/treat/type/psych_firstaid.asp
Conclusion
Helping someone being targeted is not about bravery in the cinematic sense. It is about control, awareness, and making smart choices under pressure. The safest intervention is the one that reduces harm without creating a new threat. Stay calm, stay observant, and focus on the person who needs support. Done right, small actions can interrupt harm and give someone a way out when they need it most.
Kitty’s Resistance Projects
- Resistance Directory:https://resistancedirectory.com/
- EpsteinWiki:Epsteinwiki.com
Support Resistance Kitty’s Work
- Kitty Merch:https://rgearshop.com/
- Support Kitty:https://buymeacoffee.com/resistancekitty